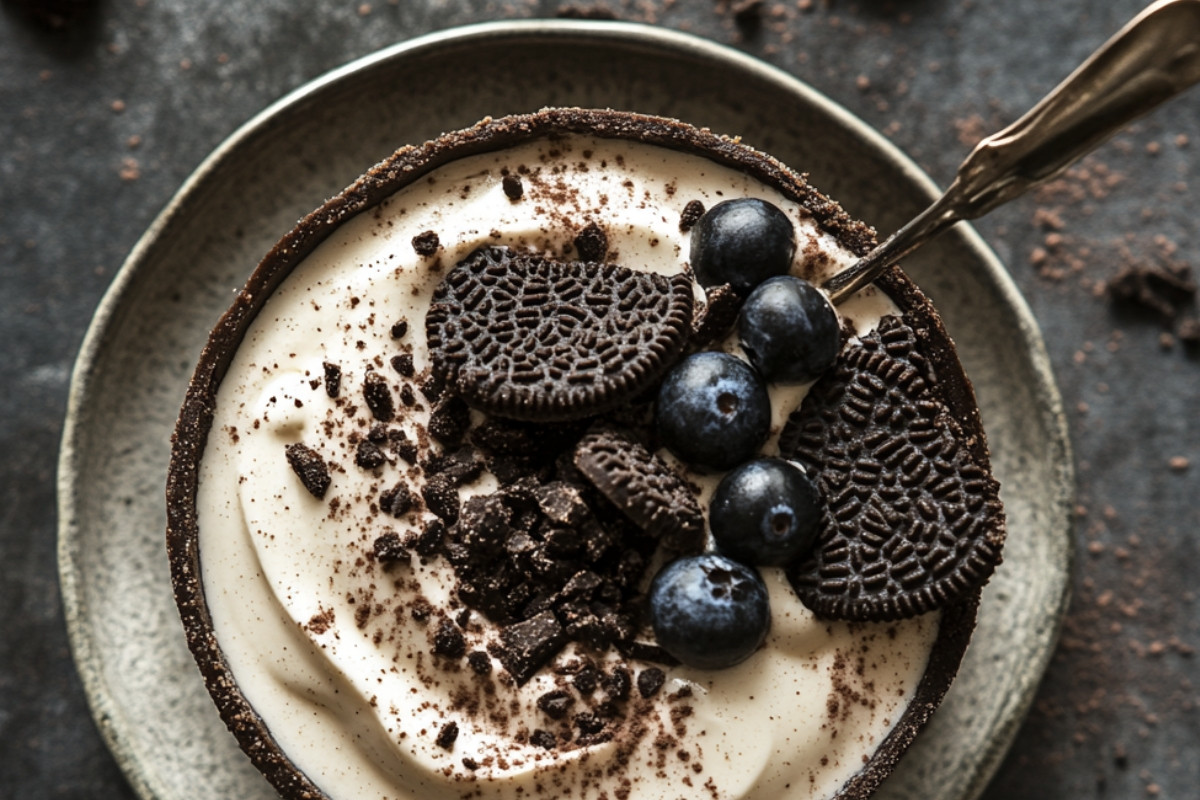
Introduction
Life is a collection of sweet moments, from the joyful chaos of birthday celebrations to the quiet evenings spent enjoying a slice of dessert. With the Deliciously Indulgent No-Bake Oreo Cheesecake Recipe, you can create memories that bring smiles and happy sighs from family and friends. This delightful treat not only satisfies your sweet tooth but also serves as a reminder of the love and warmth shared during gatherings. Imagine the look on your loved ones’ faces as they dive into this creamy dessert — it’s a simple way to convey your affection and make any occasion special.
Whether you’re juggling a busy schedule as a working mom or just trying to balance life’s demands, finding time for a homemade dessert can be challenging. That’s where the No-Bake Oreo Cheesecake shines bright. This recipe is perfect for those who value quick, easy, and delicious options. With no need to preheat the oven, you can whip up this cheesecake in no time, allowing you to focus on what really matters – creating unforgettable moments with the ones you love.
Why we love this recipe
The No-Bake Oreo Cheesecake brings together the best of both worlds – indulgence and ease. The crust, made from crushed Oreo cookies, is not only satisfying but also brings a delightful contrast in texture. Each bite is a harmony of creamy cheesecake filling and crunchy cookie, creating an experience that’s truly memorable. Plus, the absence of baking means less time spent cleaning up and more time to enjoy those precious moments with family.
No-Bake Oreo Cheesecake
Creating the perfect No-Bake Oreo Cheesecake is an opportunity to indulge in a little fun and creativity. You don’t need to be a professional baker to enjoy this treat, as the ingredients come together effortlessly. The blend of rich cream cheese and fluffy whipped cream crafts a dreamy filling that’s irresistible. Every layer of this cheesecake is crafted with love, making it not just a dessert, but a heartfelt offering to your loved ones. Whether it’s for a birthday or a Tuesday night treat, this recipe fits perfectly into any occasion.
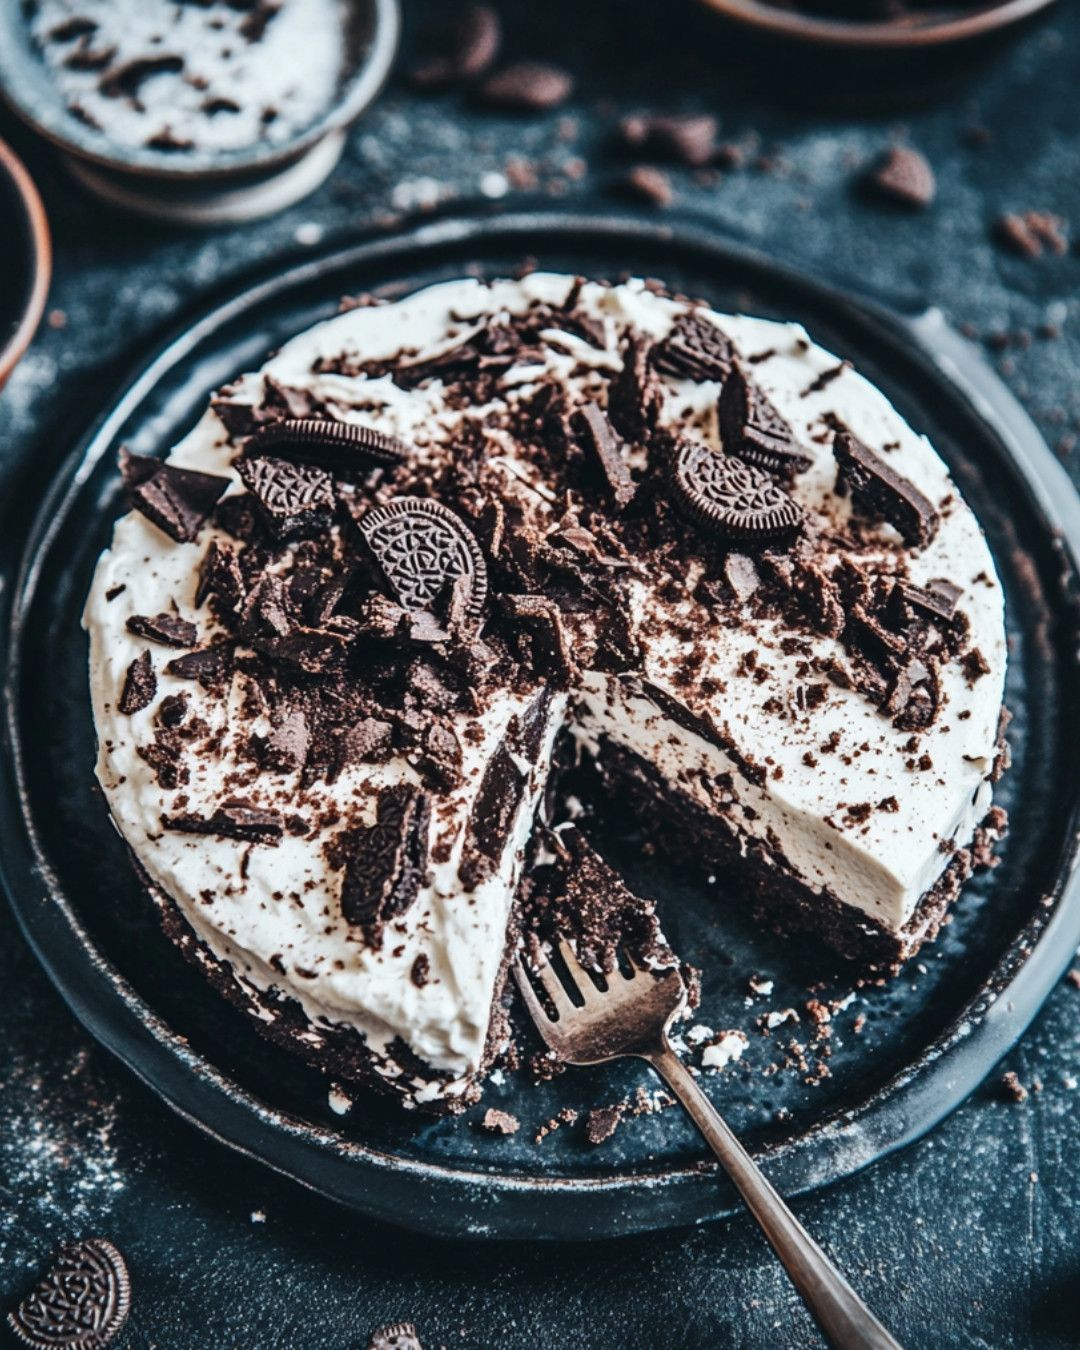
Step-by-Step Cooking Instructions
Now that you’ve gathered all your ingredients and tools, it’s time to transform these simple components into a delightful dessert that will leave everyone craving more. Follow these steps to create a stunning No-Bake Oreo Cheesecake that everyone will rave about! Get ready for a delightful mix of creamy and crunchy textures that will make this treat memorable.
Step 1: Prepare the Pan
Start by taking a 9-inch springform pan and line the bottom with parchment paper. This small step will help you remove the cheesecake easily later. Greasing the sides lightly with butter ensures the cheesecake slides out without a hitch.
Step 2: Make the Oreo Crust
In a mixing bowl, combine crushed Oreo cookies with melted butter. Ensure every crumb is coated with butter; this will create a rich, delicious crust. Use a fork to mix until the crumb mixture resembles wet sand. Firmly press this mixture into the bottom of your prepared pan. Don’t worry if it seems a bit loose at first—press it down well for a solid foundation!
Step 3: Whip the Cream Cheese
Take your softened cream cheese and place it in a large mixing bowl. Beat it with an electric mixer until smooth and creamy. This step is vital as it ensures your No-Bake Oreo Cheesecake filling will be free of lumps. The texture should be velvety—perfect for incorporating in the next steps.
Step 4: Add Sweeteners and Flavor
Next, add powdered sugar and vanilla extract to the cream cheese. Continue beating until fully combined. The sweetness of the powdered sugar balances the cream cheese perfectly, setting the stage for an incredible filling that will melt in your mouth.
Step 5: Incorporate Whipped Cream
In another bowl, whip some heavy whipping cream until soft peaks form. This is where the magic happens! Gently fold in the whipped cream into your cream cheese mixture. Take your time with this step; the goal is to keep the mixture light and airy, giving your cheesecake its wonderful texture.
Step 6: Add Oreo Chunks
Crush some more Oreo cookies and fold them into the mixture—these chunks will add a delightful surprise in every bite of your No-Bake Oreo Cheesecake. Stir gently, ensuring you distribute the Oreos evenly without deflating your whipped cream.
Step 7: Fill the Pan
Pour your luscious filling into the prepared crust. Smooth the top with a spatula, ensuring an even, enticing surface. It’s hard to resist licking the spatula at this stage; the cheesecake filling is simply divine!
Step 8: Chill to Perfection
Cover your cheesecake with plastic wrap and place it in the refrigerator for at least 4 hours, or overnight if you can wait. This chilling time is crucial as it allows the cheesecake to set properly, giving you that perfect slice in the end. Waiting is the hardest part, but trust the process!
Step 9: Serve and Enjoy
Once chilled, carefully unlock the springform pan and lift the cheesecake out. Serve slices with a drizzle of chocolate sauce or a sprinkle of crushed Oreos on top for an extra touch. Each bite will be a celebration of flavors and textures!
Detailed Directions and Instructions
Notes
Note 1: Ingredient Quality Matters
Choose high-quality cream cheese and fresh heavy whipping cream for the best flavor and texture. The quality of your ingredients directly impacts the taste of your No-Bake Oreo Cheesecake.
Note 2: Timing is Key
Allowing the cheesecake to chill properly is essential for achieving the right texture—don’t rush this part! If you’re short on time, consider making it a day ahead.
Note 3: Variations and Add-ins
Feel free to experiment! Try adding different flavors of instant pudding to the cream cheese mixture for unique twists. You can even mix in different types of cookies for an exciting flavor profile.
Let’s Talk Toppings!
Get creative with the toppings! Consider adding whipped cream, mini chocolate chips, or even a layer of ganache on top of your No-Bake Oreo Cheesecake just before serving. Each addition can elevate this dessert to a whole new level. Plus, it’s a great way to personalize your cheesecake for gatherings or special occasions!
Remember the Little Details
Baking can be as much about the little details as it is about the big steps. Keep track of your chilling times, and don’t hesitate to check the mixture’s texture as you combine ingredients. These mindful practices will help ensure a delicious outcome for your No-Bake Oreo Cheesecake.
Cheesecake Charm: Presentation Matters!
When it comes to desserts, we eat with our eyes first. Take a moment to present your No-Bake Oreo Cheesecake beautifully. A few artistic swirls of whipped cream or a simple sprinkle of crushed Oreos can turn this cheesecake into a showstopper. It’s all in the presentation, so don’t be shy to put in a little extra effort!
Common Mistakes to Avoid
1. Avoid Using Cold Ingredients: Make sure your cream cheese is at room temperature for easy blending.
2. Don’t Rush the Chilling: Allow your cheesecake to chill completely for the best texture. Patience is key!
3. Skipping the Whipping: Neglecting to whip the heavy cream enough can lead to a dense filling. Aim for those soft peaks before folding it in!
Following this guide will lead you to a remarkable No-Bake Oreo Cheesecake that is not only easy to make but absolutely delightful to savor! Happy baking!
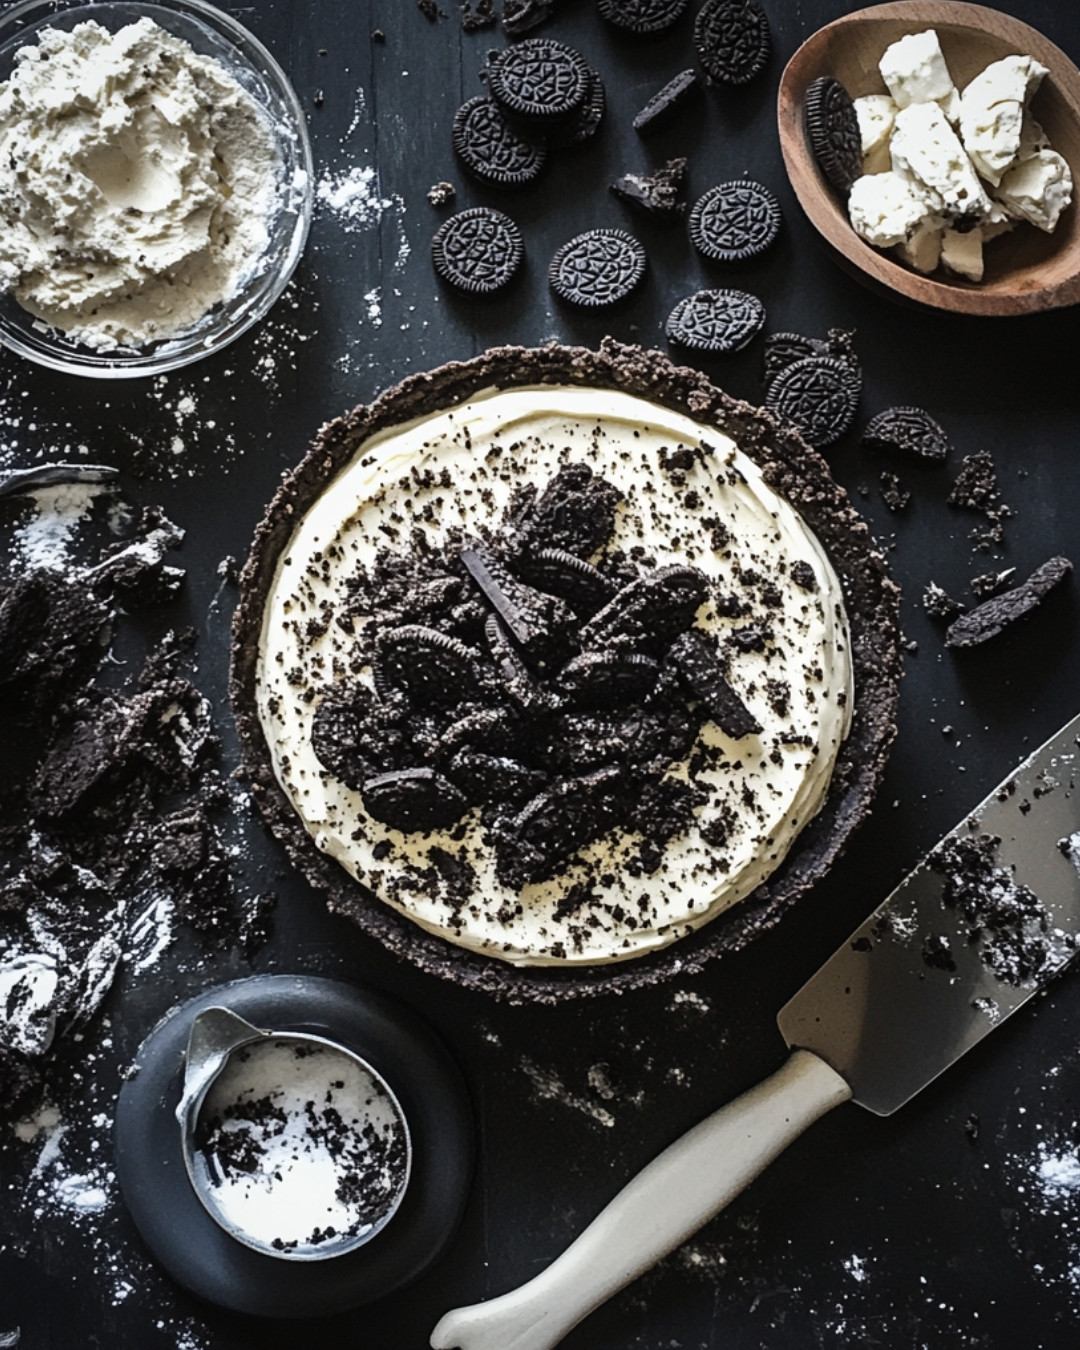
Key ingredients
- OREOS. You will need 24 Oreos for the crust and additional Oreos for the filling.
- BUTTER. Melted butter is used to hold the crust together.
- CREAM CHEESE. Softened cream cheese gives the cheesecake its rich and creamy texture.
- SUGAR. Granulated sugar sweetens the cheesecake.
- HEAVY CREAM. Whipped heavy cream is folded into the cheesecake mixture for extra fluffiness.
- VANILLA EXTRACT. This adds flavor to the cheesecake mixture.
- OREO CRUMBLES. Crushed Oreos are mixed into the cheesecake filling for added flavor and texture.
Preparation Time
- Prep Time: 30 minutes
- Cook Time: 0 minutes
- Total Time: 30 minutes
- Yield: 12 servings
Cook techniques
Crushing Oreos
To create a tasty crust for your No-Bake Oreo Cheesecake, begin with crushing Oreos into a fine crumb. This can be done using a food processor or by placing the cookies in a sealed bag and using a rolling pin. The finer the crumbs, the better the crust will hold together.
Making the Cheesecake Filling
Mixing the cream cheese and sugar until smooth is crucial for a creamy texture in your No-Bake Oreo Cheesecake. Use an electric mixer to achieve a fluffy consistency. Incorporating whipped cream gently will add lightness to the filling.
Chilling the Cheesecake
Allow the cheesecake to chill in the refrigerator for at least four hours before serving. This helps the layers set properly, ensuring a perfect slice when it’s time to serve the No-Bake Oreo Cheesecake.
Serving and Presentation Ideas:
When ready to serve, consider garnishing your No-Bake Oreo Cheesecake with extra crushed Oreos on top. For an elegant touch, add whipped cream dollops around the edges. Pair the dessert with fresh berries for a pop of color and a delightful contrast in flavor. Serving individual portions in mason jars adds a fun twist to your presentation.
People Also Ask :
What can I use instead of Oreos for the crust? You can substitute Oreos with any chocolate sandwich cookie or even graham crackers for a different flavor profile in your No-Bake Oreo Cheesecake.
Can I freeze the No-Bake Oreo Cheesecake? Yes, you can freeze your No-Bake Oreo Cheesecake. Just ensure it is properly covered to prevent freezer burn. Thaw in the refrigerator before serving.
FAQ
Can I use a different type of cream cheese?
You can use a low-fat or whipped cream cheese as an alternative in your No-Bake Oreo Cheesecake. However, the texture may vary slightly.
How long will the cheesecake last in the fridge?
Your No-Bake Oreo Cheesecake will typically last for about five days in the refrigerator if stored properly in an airtight container.
Conclusion
Creating a No-Bake Oreo Cheesecake is not just about following a recipe; it’s about the joy of making something delicious to share with others. This dessert is perfect for celebrations or simply enjoying at home with family. The ease of preparation allows you to focus less on cooking and more on enjoying time with loved ones. We hope you relish every bite and make beautiful memories along the way. What variations of No-Bake Oreo Cheesecake have you tried, or do you plan to create?
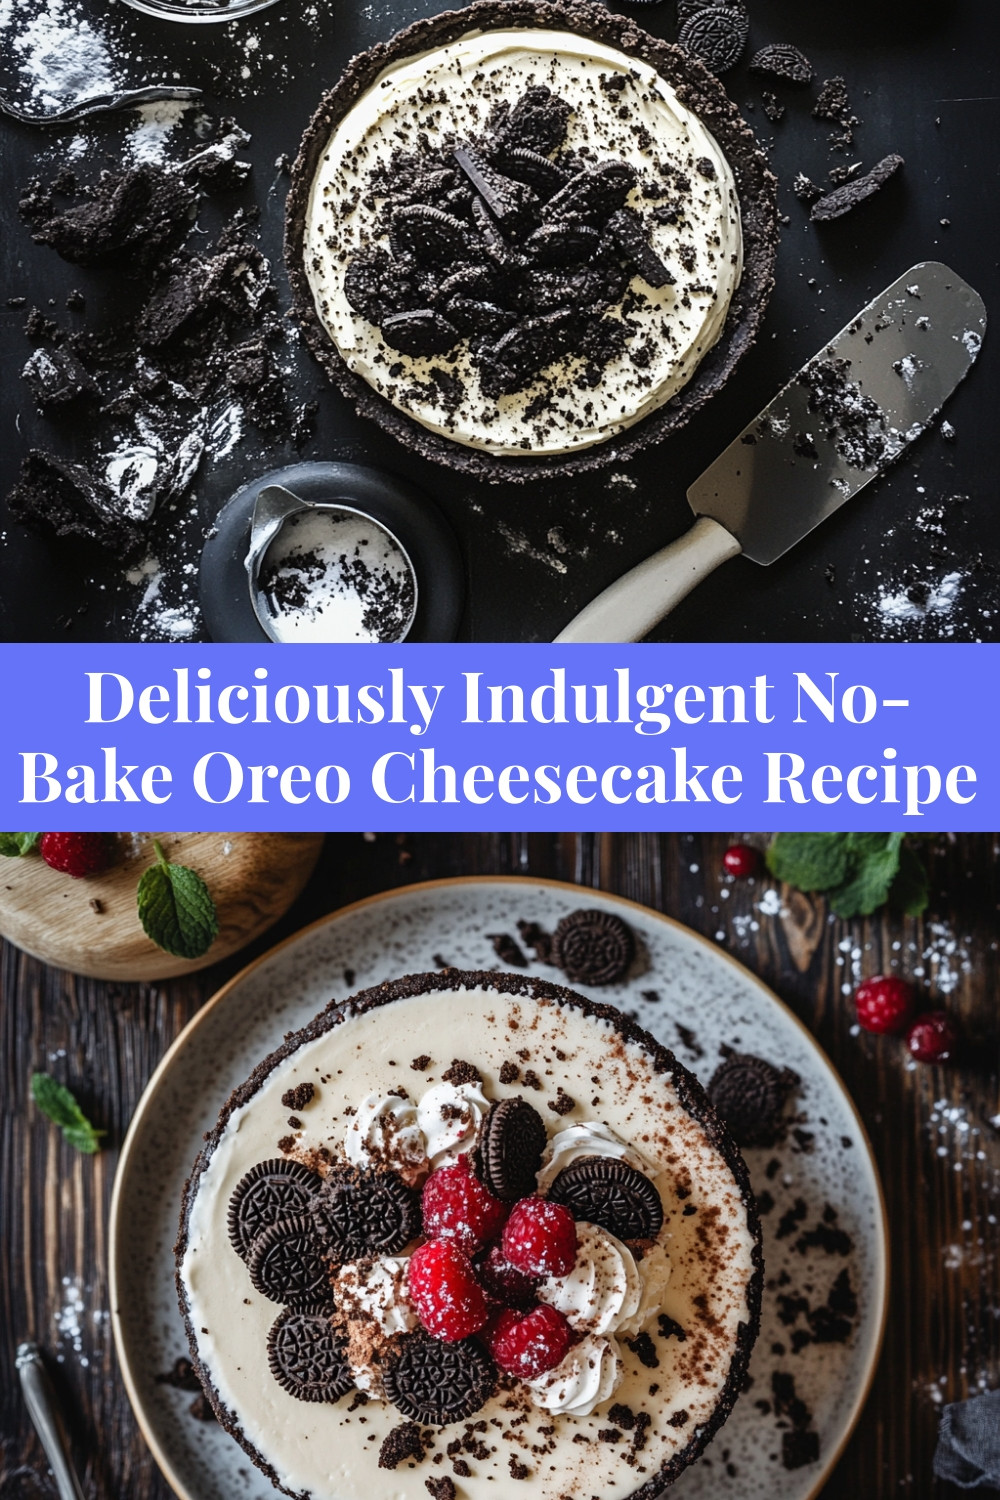

Deliciously Indulgent No-Bake Oreo Cheesecake Recipe
- Total Time: 30 minutes
- Yield: 12 servings
Description
Dive into pure decadence with this Deliciously Indulgent No-Bake Oreo Cheesecake! A crunchy Oreo crust meets a rich, creamy cheesecake filling, loaded with crushed Oreos for the ultimate cookie lover’s dream. No oven, no hassle—just pure, irresistible bliss in every bite! 🍪✨
Ingredients
- OREOS. You will need 24 Oreos for the crust and additional Oreos for the filling.
- BUTTER. Melted butter is used to hold the crust together.
- CREAM CHEESE. Softened cream cheese gives the cheesecake its rich and creamy texture.
- SUGAR. Granulated sugar sweetens the cheesecake.
- HEAVY CREAM. Whipped heavy cream is folded into the cheesecake mixture for extra fluffiness.
- VANILLA EXTRACT. This adds flavor to the cheesecake mixture.
- OREO CRUMBLES. Crushed Oreos are mixed into the cheesecake filling for added flavor and texture.
Instructions
Start by taking a 9-inch springform pan and line the bottom with parchment paper. This small step will help you remove the cheesecake easily later. Greasing the sides lightly with butter ensures the cheesecake slides out without a hitch.
In a mixing bowl, combine crushed Oreo cookies with melted butter. Ensure every crumb is coated with butter; this will create a rich, delicious crust. Use a fork to mix until the crumb mixture resembles wet sand. Firmly press this mixture into the bottom of your prepared pan. Don’t worry if it seems a bit loose at first—press it down well for a solid foundation!
Take your softened cream cheese and place it in a large mixing bowl. Beat it with an electric mixer until smooth and creamy. This step is vital as it ensures your No-Bake Oreo Cheesecake filling will be free of lumps. The texture should be velvety—perfect for incorporating in the next steps.
Next, add powdered sugar and vanilla extract to the cream cheese. Continue beating until fully combined. The sweetness of the powdered sugar balances the cream cheese perfectly, setting the stage for an incredible filling that will melt in your mouth.
In another bowl, whip some heavy whipping cream until soft peaks form. This is where the magic happens! Gently fold in the whipped cream into your cream cheese mixture. Take your time with this step; the goal is to keep the mixture light and airy, giving your cheesecake its wonderful texture.
Crush some more Oreo cookies and fold them into the mixture—these chunks will add a delightful surprise in every bite of your No-Bake Oreo Cheesecake. Stir gently, ensuring you distribute the Oreos evenly without deflating your whipped cream.
Pour your luscious filling into the prepared crust. Smooth the top with a spatula, ensuring an even, enticing surface. It’s hard to resist licking the spatula at this stage; the cheesecake filling is simply divine!
Cover your cheesecake with plastic wrap and place it in the refrigerator for at least 4 hours, or overnight if you can wait. This chilling time is crucial as it allows the cheesecake to set properly, giving you that perfect slice in the end. Waiting is the hardest part, but trust the process!
Once chilled, carefully unlock the springform pan and lift the cheesecake out. Serve slices with a drizzle of chocolate sauce or a sprinkle of crushed Oreos on top for an extra touch. Each bite will be a celebration of flavors and textures!
Notes
Notes
Note 1: Ingredient Quality Matters
Choose high-quality cream cheese and fresh heavy whipping cream for the best flavor and texture. The quality of your ingredients directly impacts the taste of your No-Bake Oreo Cheesecake.
Note 2: Timing is Key
Allowing the cheesecake to chill properly is essential for achieving the right texture—don’t rush this part! If you’re short on time, consider making it a day ahead.
Note 3: Variations and Add-ins
Feel free to experiment! Try adding different flavors of instant pudding to the cream cheese mixture for unique twists. You can even mix in different types of cookies for an exciting flavor profile.
Let’s Talk Toppings!
Get creative with the toppings! Consider adding whipped cream, mini chocolate chips, or even a layer of ganache on top of your No-Bake Oreo Cheesecake just before serving. Each addition can elevate this dessert to a whole new level. Plus, it’s a great way to personalize your cheesecake for gatherings or special occasions!
- Prep Time: 30 minutes
- Cook Time: 0 minutes
