Introduction
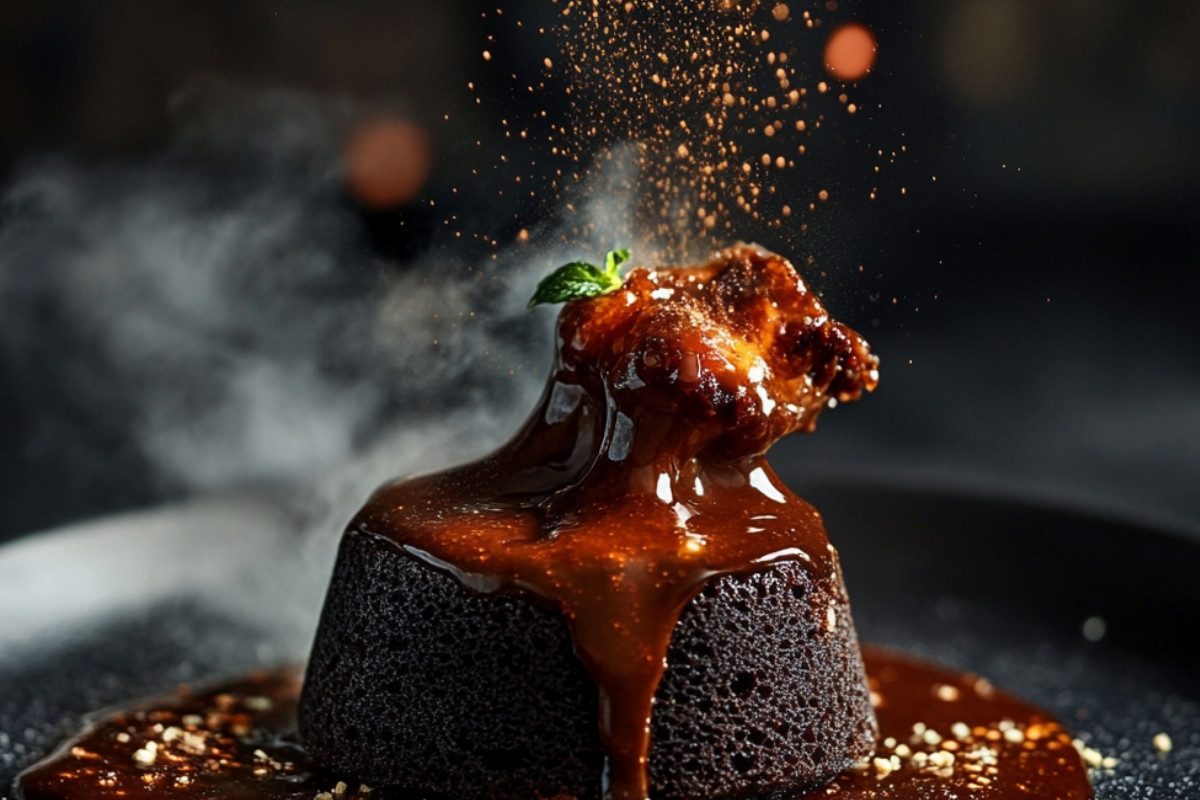
In our busy lives, it’s easy to push aside our cravings for something sweet, something that brings a little joy amid the hustle and bustle. That’s where the Indulgent Decadent Molten Lava Cake Explosion comes into play. This delightful dessert isn’t just about flavors; it’s about creating memories—whether you’re savoring it alone for a well-deserved treat after a long day or sharing it with loved ones on a special occasion. The moment you break into that soft cake, and the rich chocolate flows out, you’ll feel a wave of happiness, reminding you of the little pleasures that life can bring.
As you embark on the journey of making this luscious dessert, imagine the smiles it will bring to your family and friends. Gathered around the table, laughter fills the air, and as each person digs their spoon into the Molten Lava Cake, you’ll share in that happy experience together. Whether it’s a cozy night in or a celebration, this recipe speaks the language of love and indulgence, transforming everyday moments into something truly special.
Why we love this recipe
The Molten Lava Cake is simply a masterpiece of flavors. With a soft, warm exterior, it presents the perfect contrast to the gooey, rich chocolate center that makes every bite an explosion of delight. The recipe is straightforward—ideal for those busy days when you need something quick yet satisfying. It only requires a few ingredients, making it easily accessible, even for novice bakers!
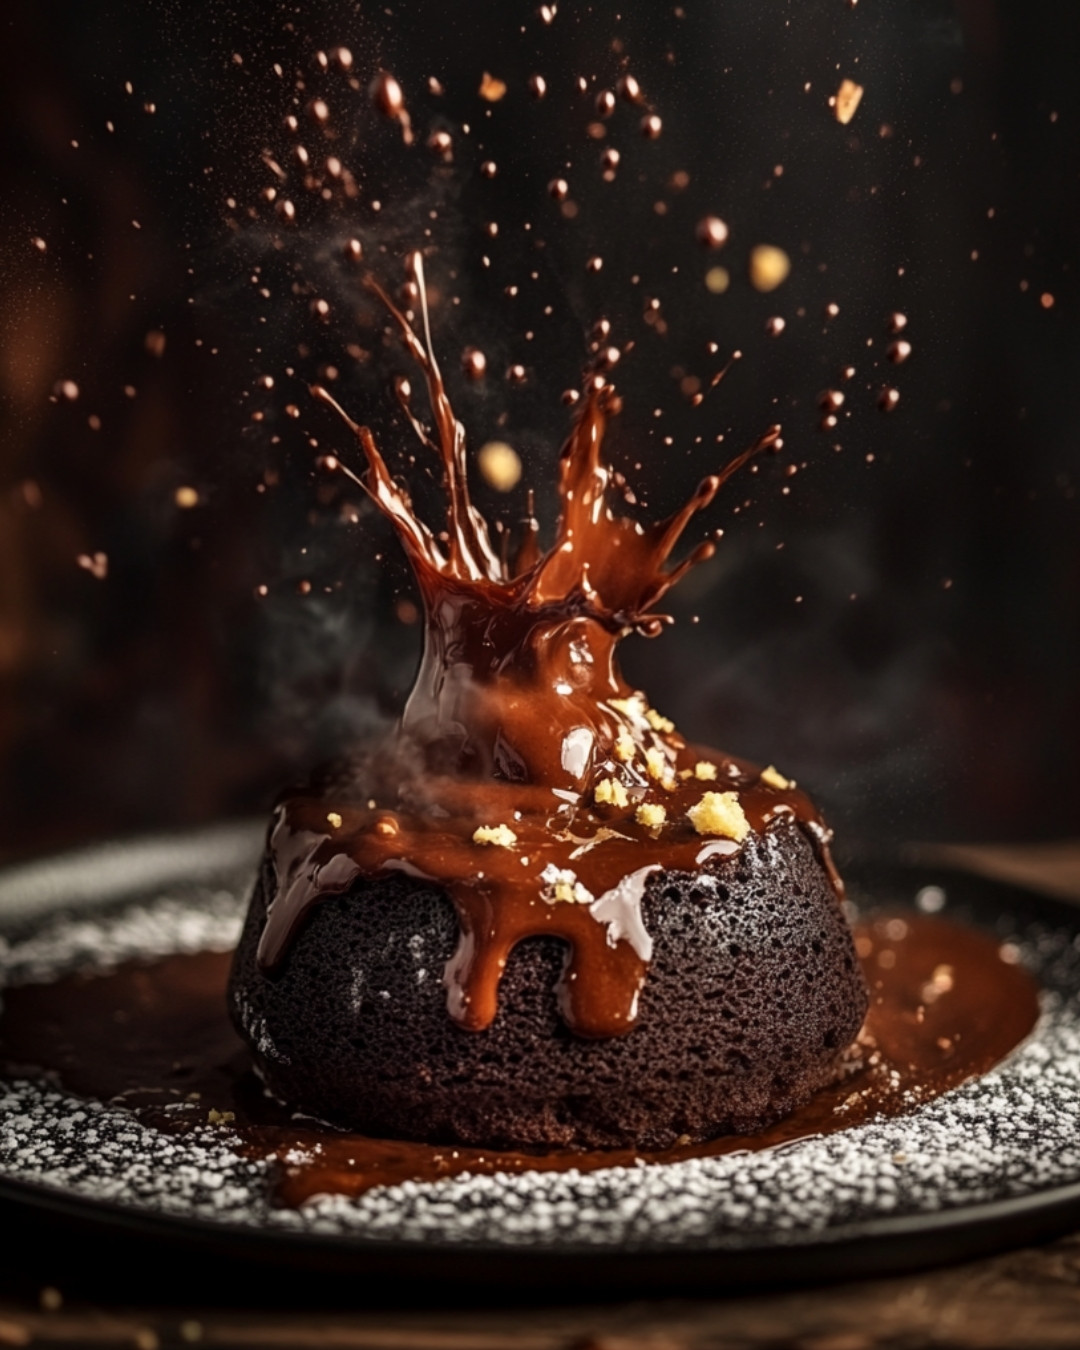
What truly sets this dessert apart is its versatility. You can customize it with toppings like fresh berries or a sprinkle of powdered sugar for added elegance. Plus, the charming individual serving size means you could make one for yourself or whip up a few for guests, creating an inviting atmosphere at any gathering. And let’s be honest, who wouldn’t be thrilled to dig into their very own gorgeous Molten Lava Cake?
Quick tips for perfecting your Molten Lava Cake
To ensure that your Molten Lava Cake turns out perfectly, a few simple tips can make all the difference. First, be careful not to overbake. The goal is a perfectly gooey center that flows out when you cut into it. A couple of minutes too long in the oven can turn this indulgent treat into a regular chocolate cake.
Another trick is to use high-quality chocolate, as it significantly enhances the flavor of your dessert. Incorporating a pinch of sea salt can also elevate the taste, balancing the sweetness and making the chocolate shine even brighter. Lastly, consider letting the cakes sit for a minute after they come out of the oven before serving. This tiny wait ensures that the molten center is just right and creates a delightful moment of anticipation for everyone at the table.
Step-by-Step Cooking Instructions
Now that you’ve gathered all your ingredients and tools, it’s time to transform these simple components into a deliciously rich Molten Lava Cake. Follow these steps carefully, as each one is designed to help you create a dessert that oozes with chocolatey goodness and impresses your friends and family.
Step 1: Preheat the Oven
Begin by preheating your oven to 425°F (220°C). This initial step is crucial, as a properly heated oven ensures that your cake rises perfectly. Take a moment to enjoy the warmth of the kitchen as the oven begins to hum with energy.
Step 2: Prepare Your Ramekin
Grab a small ramekin and give it a good coating with non-stick spray. This ensures that when the moment comes to serve your Molten Lava Cake, it slides out effortlessly. Sprinkle a dusting of cocoa powder inside the ramekin, tapping out the excess. This simple preemptive move will add a little extra chocolate flavor.
Step 3: Melt the Chocolate and Butter
In a microwave-safe bowl, combine your chopped chocolate and butter. Microwave in short bursts of 20 seconds, stirring in between, until the mixture is smooth and glossy. The aroma will be divine! This melting process is a magical moment where your ingredients start to come together.
Step 4: Whisk in Sugar and Eggs
Once your chocolate and butter are fully melted, add in the granulated sugar. Whisk vigorously to combine until the mixture is smooth and shiny. Next, crack in the egg and egg yolk. Continue whisking until everything is blended, creating a luscious base for your Molten Lava Cake.
Step 5: Incorporate Flour
Now it’s time to introduce the flour. Gently fold it into your chocolate mixture using a spatula. Be careful not to overmix; just combine until you see no dry flour. This step forms the foundation of your cake, balancing the oozing center with a delicate crust.
Step 6: Pour and Bake
Pour the batter into the prepared ramekin, filling it about three-quarters of the way. Place it in your preheated oven and set a timer for 12-14 minutes. The anticipation will build as the aroma fills your kitchen. You’ll know they’re ready when the edges are firm but the center remains soft.
Step 7: Cool and Serve
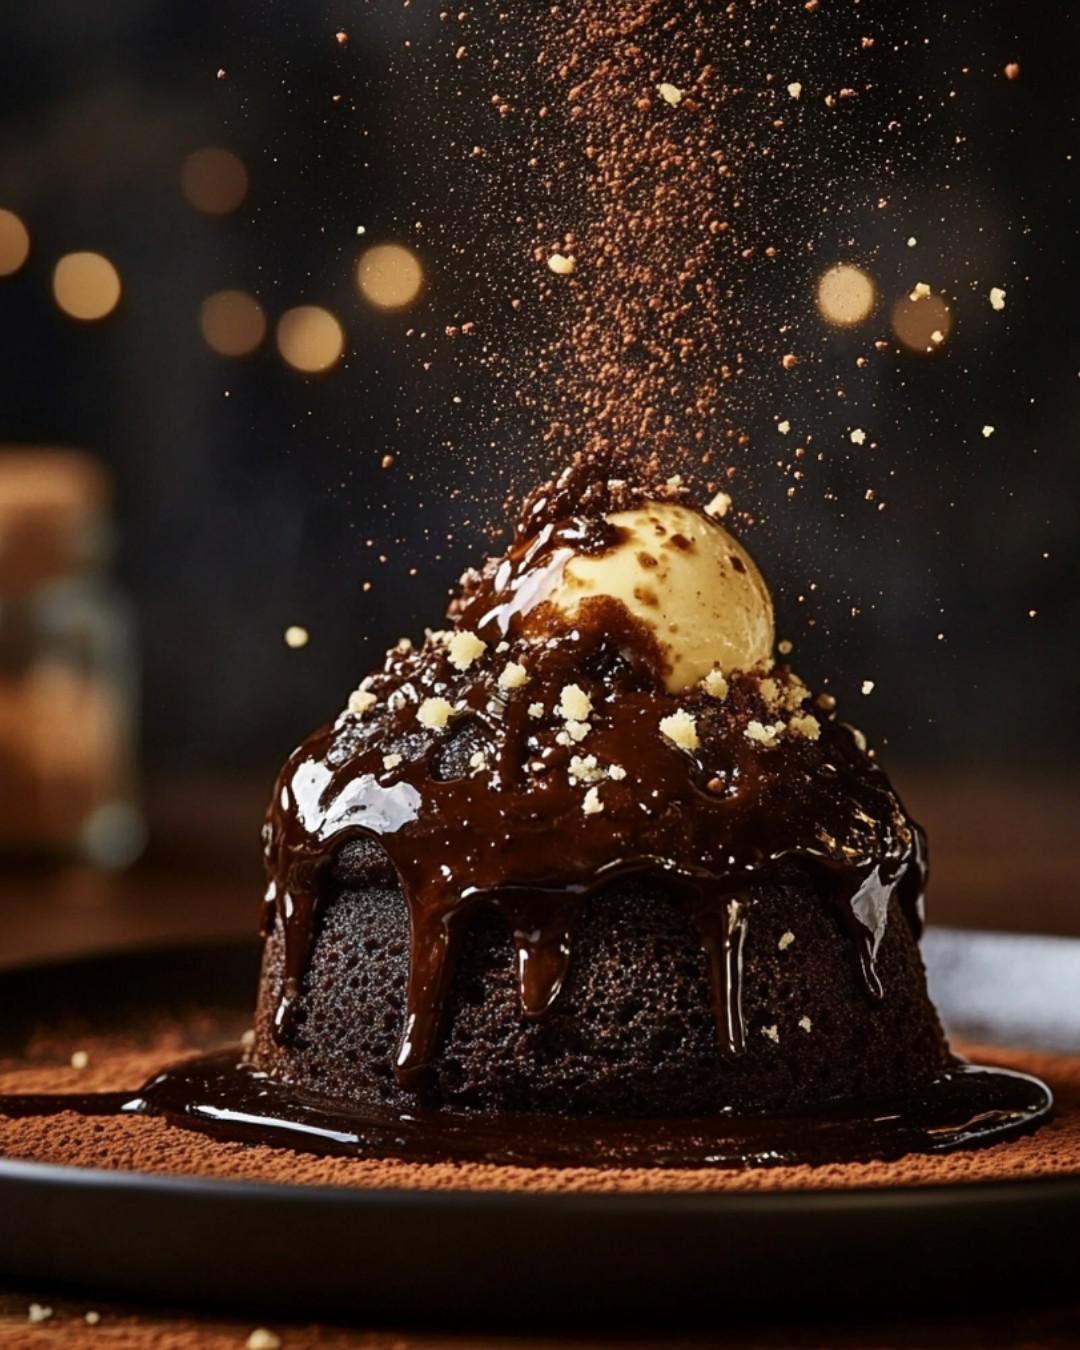
Once baked, carefully remove the ramekin from the oven and allow it to cool for about 1 minute. Then, place a plate over the top of the ramekin, flip it upside down, and gently lift the ramekin away. As you remove it, behold the beautifully formed Molten Lava Cake just waiting to be devoured. Enjoy it warm, perhaps with a scoop of vanilla ice cream for an extra treat!
Detailed Directions and Instructions
Step 1: Preheat the Oven
Setting your oven to the right temperature allows your cake to bake evenly, resulting in that perfect molten center everyone loves.
Step 2: Prepare Your Ramekin
The non-stick spray and cocoa powder will ensure your cake doesn’t get stuck, which could ruin its beautiful presentation.
Step 3: Melt the Chocolate and Butter
Microwaving is a quick method to melt chocolate; just be cautious not to scorch it. Smooth, melted chocolate is the soul of your dessert.
Step 4: Whisk in Sugar and Eggs
Whisking helps to incorporate air, which provides lift to your Molten Lava Cake, creating a delightful lightness in contrast to its rich interior.
Step 5: Incorporate Flour
Fold gently to maintain the structure. Overmixing could lead to a denser cake than desired.
Step 6: Pour and Bake
Timing is key! Keep an eye on your Molten Lava Cake as it bakes, as each oven may vary slightly.
Step 7: Cool and Serve
This is the moment you’ve been waiting for! The anticipation will build as you reveal the inner chocolate magic.
Notes
Customize Your Creation
Feel free to add a splash of vanilla extract or a sprinkle of espresso powder for a flavor twist. This Molten Lava Cake is a canvas for your creativity!
Storage Tips
If you have any leftovers—though unlikely!—store them in the refrigerator. Reheat in the microwave for a few seconds before serving to refresh that gooey center.
Serving Suggestions
Enhance the experience by serving with berries, whipped cream, or ice cream. These add delightful contrasts to the warm, rich cake.
Tips for Making the Perfect Molten Lava Cake
Variations on the Classic Molten Lava Cake
You can experiment with different chocolates, such as dark, milk, or even white chocolate, each bringing a unique profile to your dessert.
Using Different Bakeware
While ramekins are traditional, you can also use muffin tins for smaller servings or silicone molds for fun shapes; just be mindful of the baking time.
Common Mistakes to Avoid
One common mistake when making a Molten Lava Cake is overbaking. Always trust your instincts about baking time—if you’re unsure, slightly underbake for that melty center.
Another pitfall is not allowing enough time for cooling before serving, which can lead to a cake that won’t hold its shape. Remember, patience is key!
Key ingredients
- 1 oz. semi-sweet chocolate
- 2 tbsp unsalted butter
- 1 egg
- 2 tbsp sugar
- 3 tbsp all-purpose flour
- 1/4 tsp vanilla extract
- Pinch of salt
Preparation Time
- Prep Time: 10 minutes
- Cook Time: 12 minutes
- Total Time: 22 minutes
- Yield: 1 serving
Cook techniques
Melting the Chocolate
Start by gently melting the chocolate using a double boiler. This method helps maintain the chocolate’s smooth texture without burning, ensuring a rich foundation for your Molten Lava Cake.
Mixing the Batter
Carefully combine the eggs and sugar until fluffy, then fold in the melted chocolate. This technique captures air in the batter, leading to a light texture in your Molten Lava Cake.
Baking to Perfection
Ensure your oven is preheated to the correct temperature. Baking the cake just until the edges are set while the center remains soft is crucial for achieving the signature molten core.
Resting Before Serving
Allow the Molten Lava Cake to rest for a minute after removing it from the oven. This small pause helps the outside firm up slightly while keeping the inside gooey.
Serving and Presentation Ideas:
Consider serving your Molten Lava Cake with a scoop of vanilla ice cream on top, allowing the warm cake to melt the ice cream for a delightful combination. Dust the cake with powdered sugar for an elegant touch. Fresh berries or a drizzle of raspberry sauce can add a pop of color and a tart contrast to the rich flavors.
People Also Ask :
How do I know when my Molten Lava Cake is done? You can tell it’s done when the edges are set but the center still jiggles slightly. A toothpick inserted into the edge should come out clean, while the center remains gooey.
Can I make the Molten Lava Cake ahead of time? Yes, you can prepare the batter in advance and keep it in the refrigerator. Bake it just before serving for the best results.
What is the best chocolate to use for Molten Lava Cake? Use high-quality dark chocolate with at least 60% cocoa for a rich flavor. Avoid chocolate chips as they may not melt as smoothly.
FAQ
Can I use a different type of chocolate for the Molten Lava Cake?
Yes, you can use milk chocolate for a sweeter taste or dark chocolate for a richer flavor. Just ensure that it melts smoothly.
How many servings does this Molten Lava Cake recipe make?
This recipe is designed for a single serving, perfect for a satisfying indulgence or a special treat.
Can I add flavors to my Molten Lava Cake?
Absolutely! You can infuse the batter with vanilla extract, espresso powder, or even orange zest for a unique twist on the classic Molten Lava Cake.
Conclusion
Creating a delicious Molten Lava Cake is not just about the rich and gooey center; it’s also about the experience of baking and sharing something special. As you enjoy this delightful treat, remember that it’s the moments spent with loved ones that make it truly memorable. We’d love to hear your thoughts—have you tried any fun variations or serving styles for your Molten Lava Cake? Please share your experiences!
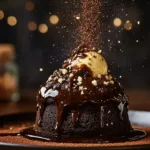
Indulgent Decadent Molten Lava Cake Explosion
- Total Time: 22 minutes
- Yield: 1 serving 1x
Description
Get ready for a taste explosion with this Indulgent Decadent Molten Lava Cake! Rich, warm chocolate cake with a gooey, molten center oozes with every bite, delivering an irresistible combination of sweetness and decadence. A perfect, melt-in-your-mouth dessert for any chocolate lover! 🍫🔥🍰
Ingredients
- 1 oz. semi-sweet chocolate
- 2 tbsp unsalted butter
- 1 egg
- 2 tbsp sugar
- 3 tbsp all-purpose flour
- 1/4 tsp vanilla extract
- Pinch of salt
Instructions
Setting your oven to the right temperature allows your cake to bake evenly, resulting in that perfect molten center everyone loves.
The non-stick spray and cocoa powder will ensure your cake doesn’t get stuck, which could ruin its beautiful presentation.
Microwaving is a quick method to melt chocolate; just be cautious not to scorch it. Smooth, melted chocolate is the soul of your dessert.
Whisking helps to incorporate air, which provides lift to your Molten Lava Cake, creating a delightful lightness in contrast to its rich interior.
Fold gently to maintain the structure. Overmixing could lead to a denser cake than desired.
Timing is key! Keep an eye on your Molten Lava Cake as it bakes, as each oven may vary slightly.
This is the moment you’ve been waiting for! The anticipation will build as you reveal the inner chocolate magic.
Notes
Customize Your Creation
Feel free to add a splash of vanilla extract or a sprinkle of espresso powder for a flavor twist. This Molten Lava Cake is a canvas for your creativity!
Storage Tips
If you have any leftovers—though unlikely!—store them in the refrigerator. Reheat in the microwave for a few seconds before serving to refresh that gooey center.
Serving Suggestions
Enhance the experience by serving with berries, whipped cream, or ice cream. These add delightful contrasts to the warm, rich cake.
Tips for Making the Perfect Molten Lava Cake
Variations on the Classic Molten Lava Cake
You can experiment with different chocolates, such as dark, milk, or even white chocolate, each bringing a unique profile to your dessert.
Using Different Bakeware
While ramekins are traditional, you can also use muffin tins for smaller servings or silicone molds for fun shapes; just be mindful of the baking time.
Common Mistakes to Avoid
One common mistake when making a Molten Lava Cake is overbaking. Always trust your instincts about baking time—if you’re unsure, slightly underbake for that melty center.
Another pitfall is not allowing enough time for cooling before serving, which can lead to a cake that won’t hold its shape. Remember, patience is key!
- Prep Time: 10 minutes
- Cook Time: 12minutes

